In the early part of college, a group of friends of mine decided to throw a formal dinner party and me and my friend took that fabulous idea and ran with it. We went
all out: we created formal invitations and hand delivered them, we secured a quaint location (friends backyard + tons of twinkle lights), we came up with a fancy menu, and came up with some amazing decorations (i.e. ambiance). The whole endeavor sparked my love my event planning and probably changed the course of my life forever (no, seriously). After that, I was kind of known for dinner parties and would make the effort to plan parties for all the special occasions. There was the ugly sweater Christmas party (a classic), the Valentine's Day dinner party for those of us who didn't have Valentines (not as depressing as it sounds), and my personal favorite "the Joint-Joint Birthday Party" (don't ask about the name).
The Joint-Joint birthday party was a joint effort (pun intended) between me and my friend whose birthday falls 5 days before mine in April. We decided we needed to throw a combined birthday party to celebrate and with a ton of help from my friends we ended up with an amazing dinner party that friends still talk about.
But, this post wasn't intended to simply brag about my party planning skills (that was just a nice perk)-- I wanted to share with you an awesome (and incredibly inexpensive) place card idea that we used for the party that could be taken in so many directions and used for an immeasurable amount of events.
Supplies needed:
-Mini terra cotta pot (roughly $1 from Michael's or JoAnn's)
-Acrylic paint
-bamboo skewers (you can find them at any grocery store)
-Cricut cutter and "Walk in My Garden" Cricut cartridge
-Cardstock/scrapbook paper in various colors
-Foam paint brush (or any large bristled paint brush)
-the essentials: glue, scissors, tape, etc
For these place cards, we painted the terra cotta pots with basic white acrylic paint. Obviously you can use any color you want to match your color scheme for the event. Lay the pots aside to dry and paint the bamboo skewers with a green acrylic paint to look like the stems of flowers.
The daisies were created using a Cricut cutter and the cartridge "Walk in My Garden" ( <daisy1> and shadow option selected to make them thicker). We chose various shades of pink cardstock for the flowers, but again, you can use anything that goes with your color scheme. If you don't have access to a Cricut cutter or that specific cartridge, you can use a variety of stencils or free form drawing to create your flowers. Or, get creative and come up with other shapes to use. A lot of craft stores and scrapbook stores have pre-cut chipboard shapes that could be painted and/or covered and used as well. It just so happens that the Cricut cuts a lot of shapes really quickly and saves you a lot of time. Amazing tool if you have access to one :)
Probably the coolest part of these place cards was the picture we used of each person for the inside part of the flower. This is an optional step since you have their name on another "stem" but it was a really unique and personal touch that we added to each place card. We found each picture from our friends' Facebook albums and used Photoshop to size each picture and make them into circles. After they were printed we used a circle punch to punch out each persons' head (punches= huge time savers!) and was then glued to the center of the flower to complete it
**
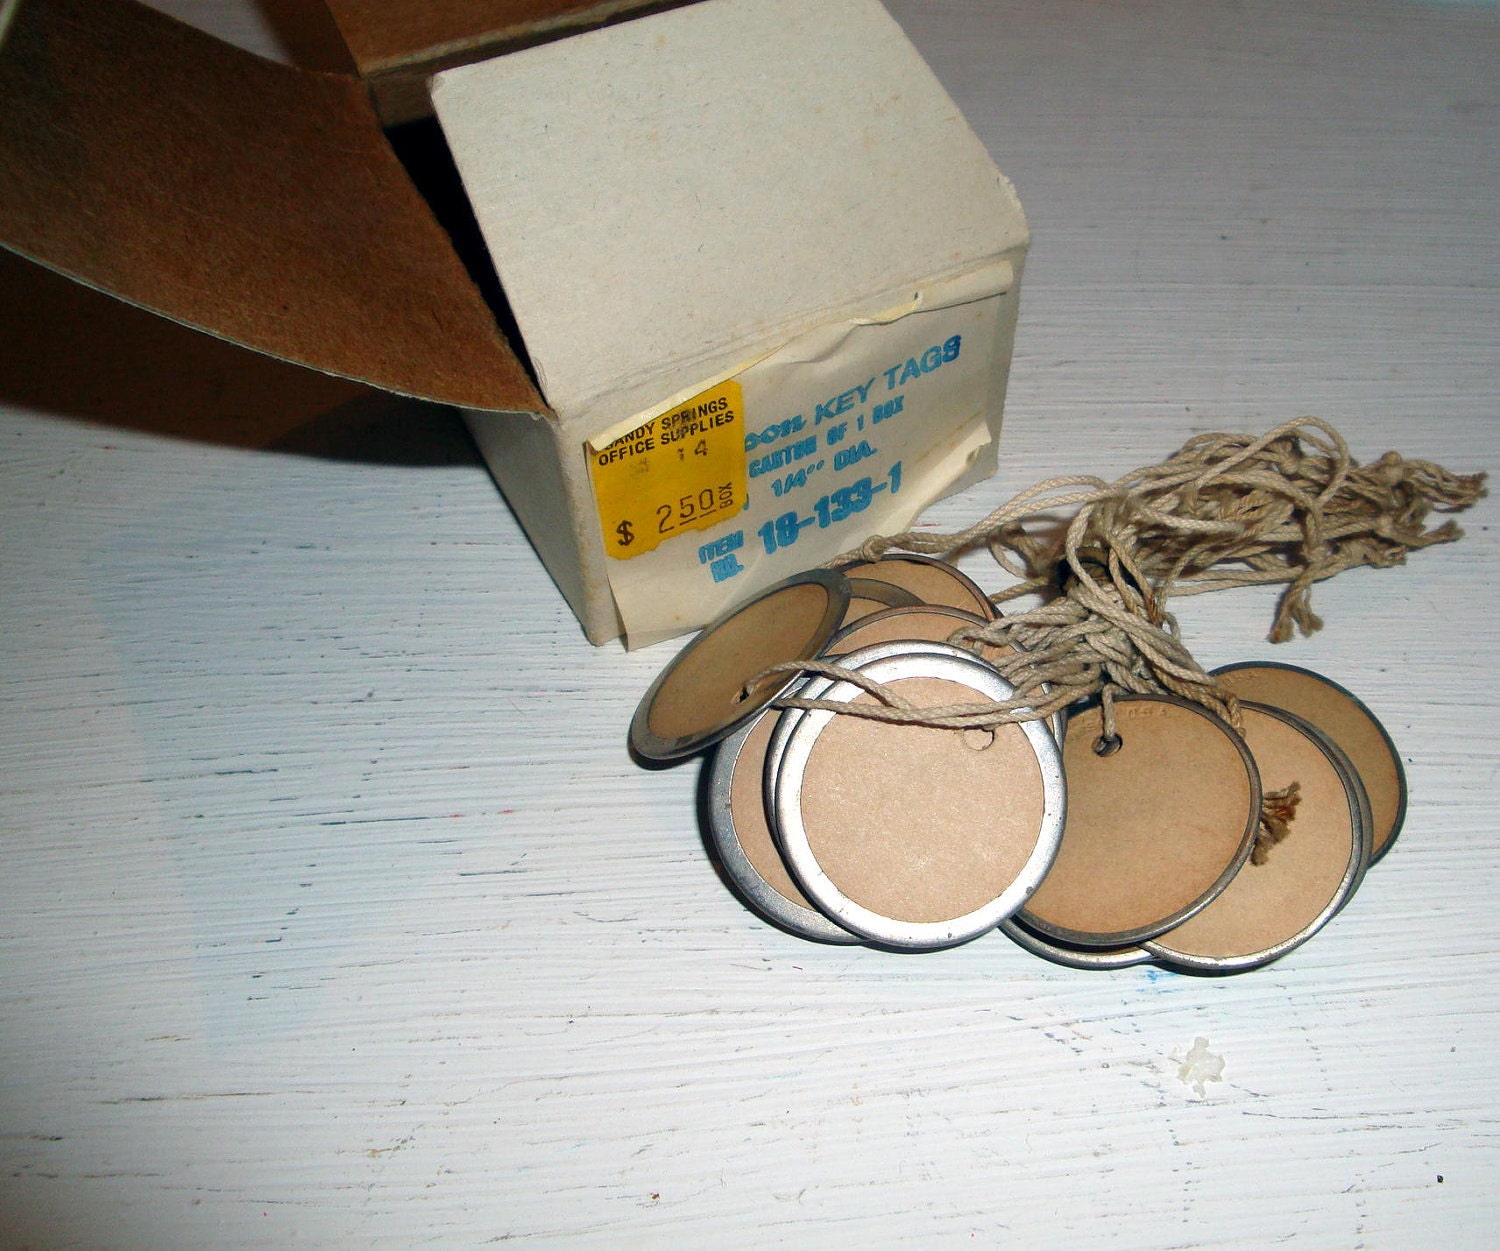
side note: we printed two of each person's face. The first picture of the person's face was used for the flower place card. The second face we glued on key tags and used as champagne glass drink markers by attaching them to the stem of the glass. This could be a whole tutorial in and of itself, but unfortunately, I have no pictures of them or the process of making them. Sad day. Trust me, they were amazing and a huge hit. They are an awesome idea for any party where you're going to use wine or champagne glasses and don't want your guests to get their drinks mixed up. I used key tags like these ones:
 |
| These are from etsy.com but you can find them at any office supply store/scrapbook store. The ones we used were white. |
The names were printed on regular paper and glued onto a coordinating color of cardstock and both the flower and the name were attached to the bamboo skewers. I cut the "name" skewer so it was slightly shorter than the flower skewer to add a little bit of dimension.
Lastly, we scrounged up some dirt from our backyard (it doesn't take much to fill the pots) and both skewers were arranged in the dirt. Voila! Amazing little place cards that your guests can take home :)
other pictures from that evening:
(all
pictures courtesy of my amazing friend Ashley)
--L